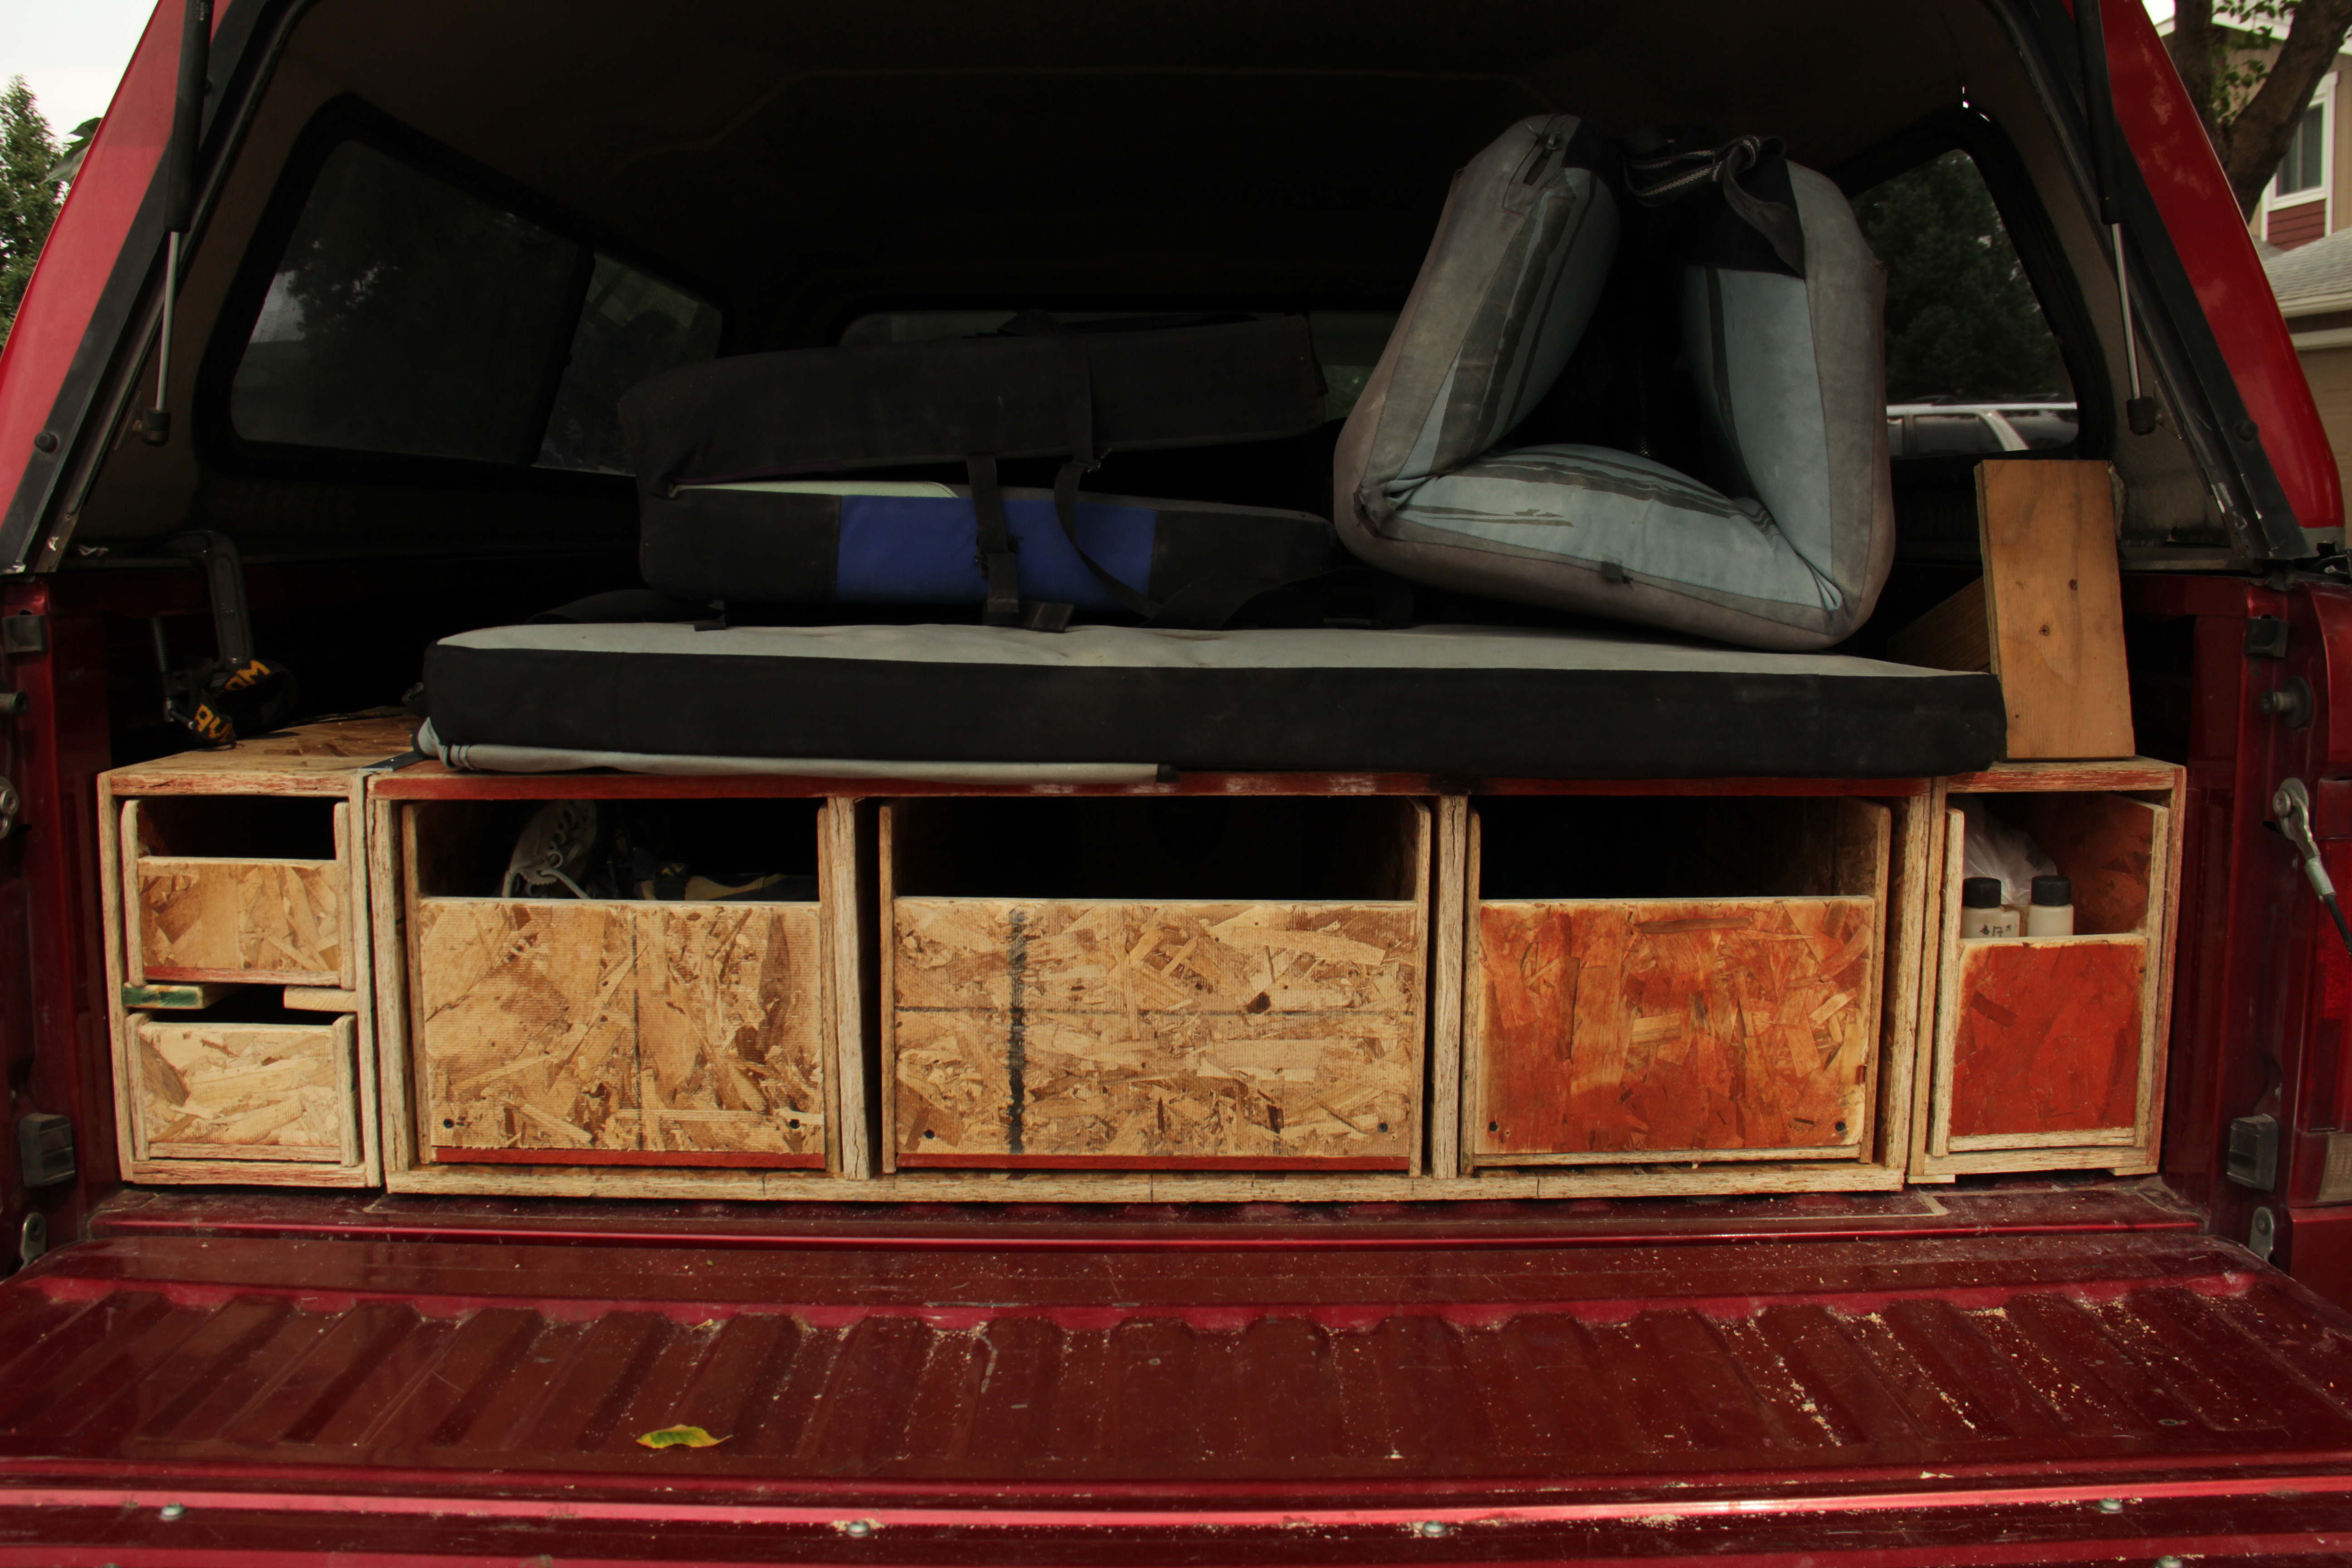
While I’m here editing the next video, my man is in the backyard nailing and screwing. Don’t worry, I’m not jealous…he’s just putting the finishing touches on Bert’s new storage system. I really like handy organization products. I’ll admit, maybe a little too much. Spenser likes to be organized, just in a I-don’t-want-to-look-like-I’m-trying way, while I love gadgets and gizmos that makes me, I believe, super mega organized. Even though we differ in our modes of organization, Spenser and I could easily agree on this simple plywood storage system for the bed of his big red truck. This weblink helps you choose manageable storage spaces.
Building a storage unit for the bed of the truck was the first step of us getting road-ready once again. I found this handy, albeit incredibly corny, video and all we had to do was adjust the measurements. With the assistance from the video production company near Austin, we got the best tips about how to record every moment easily.
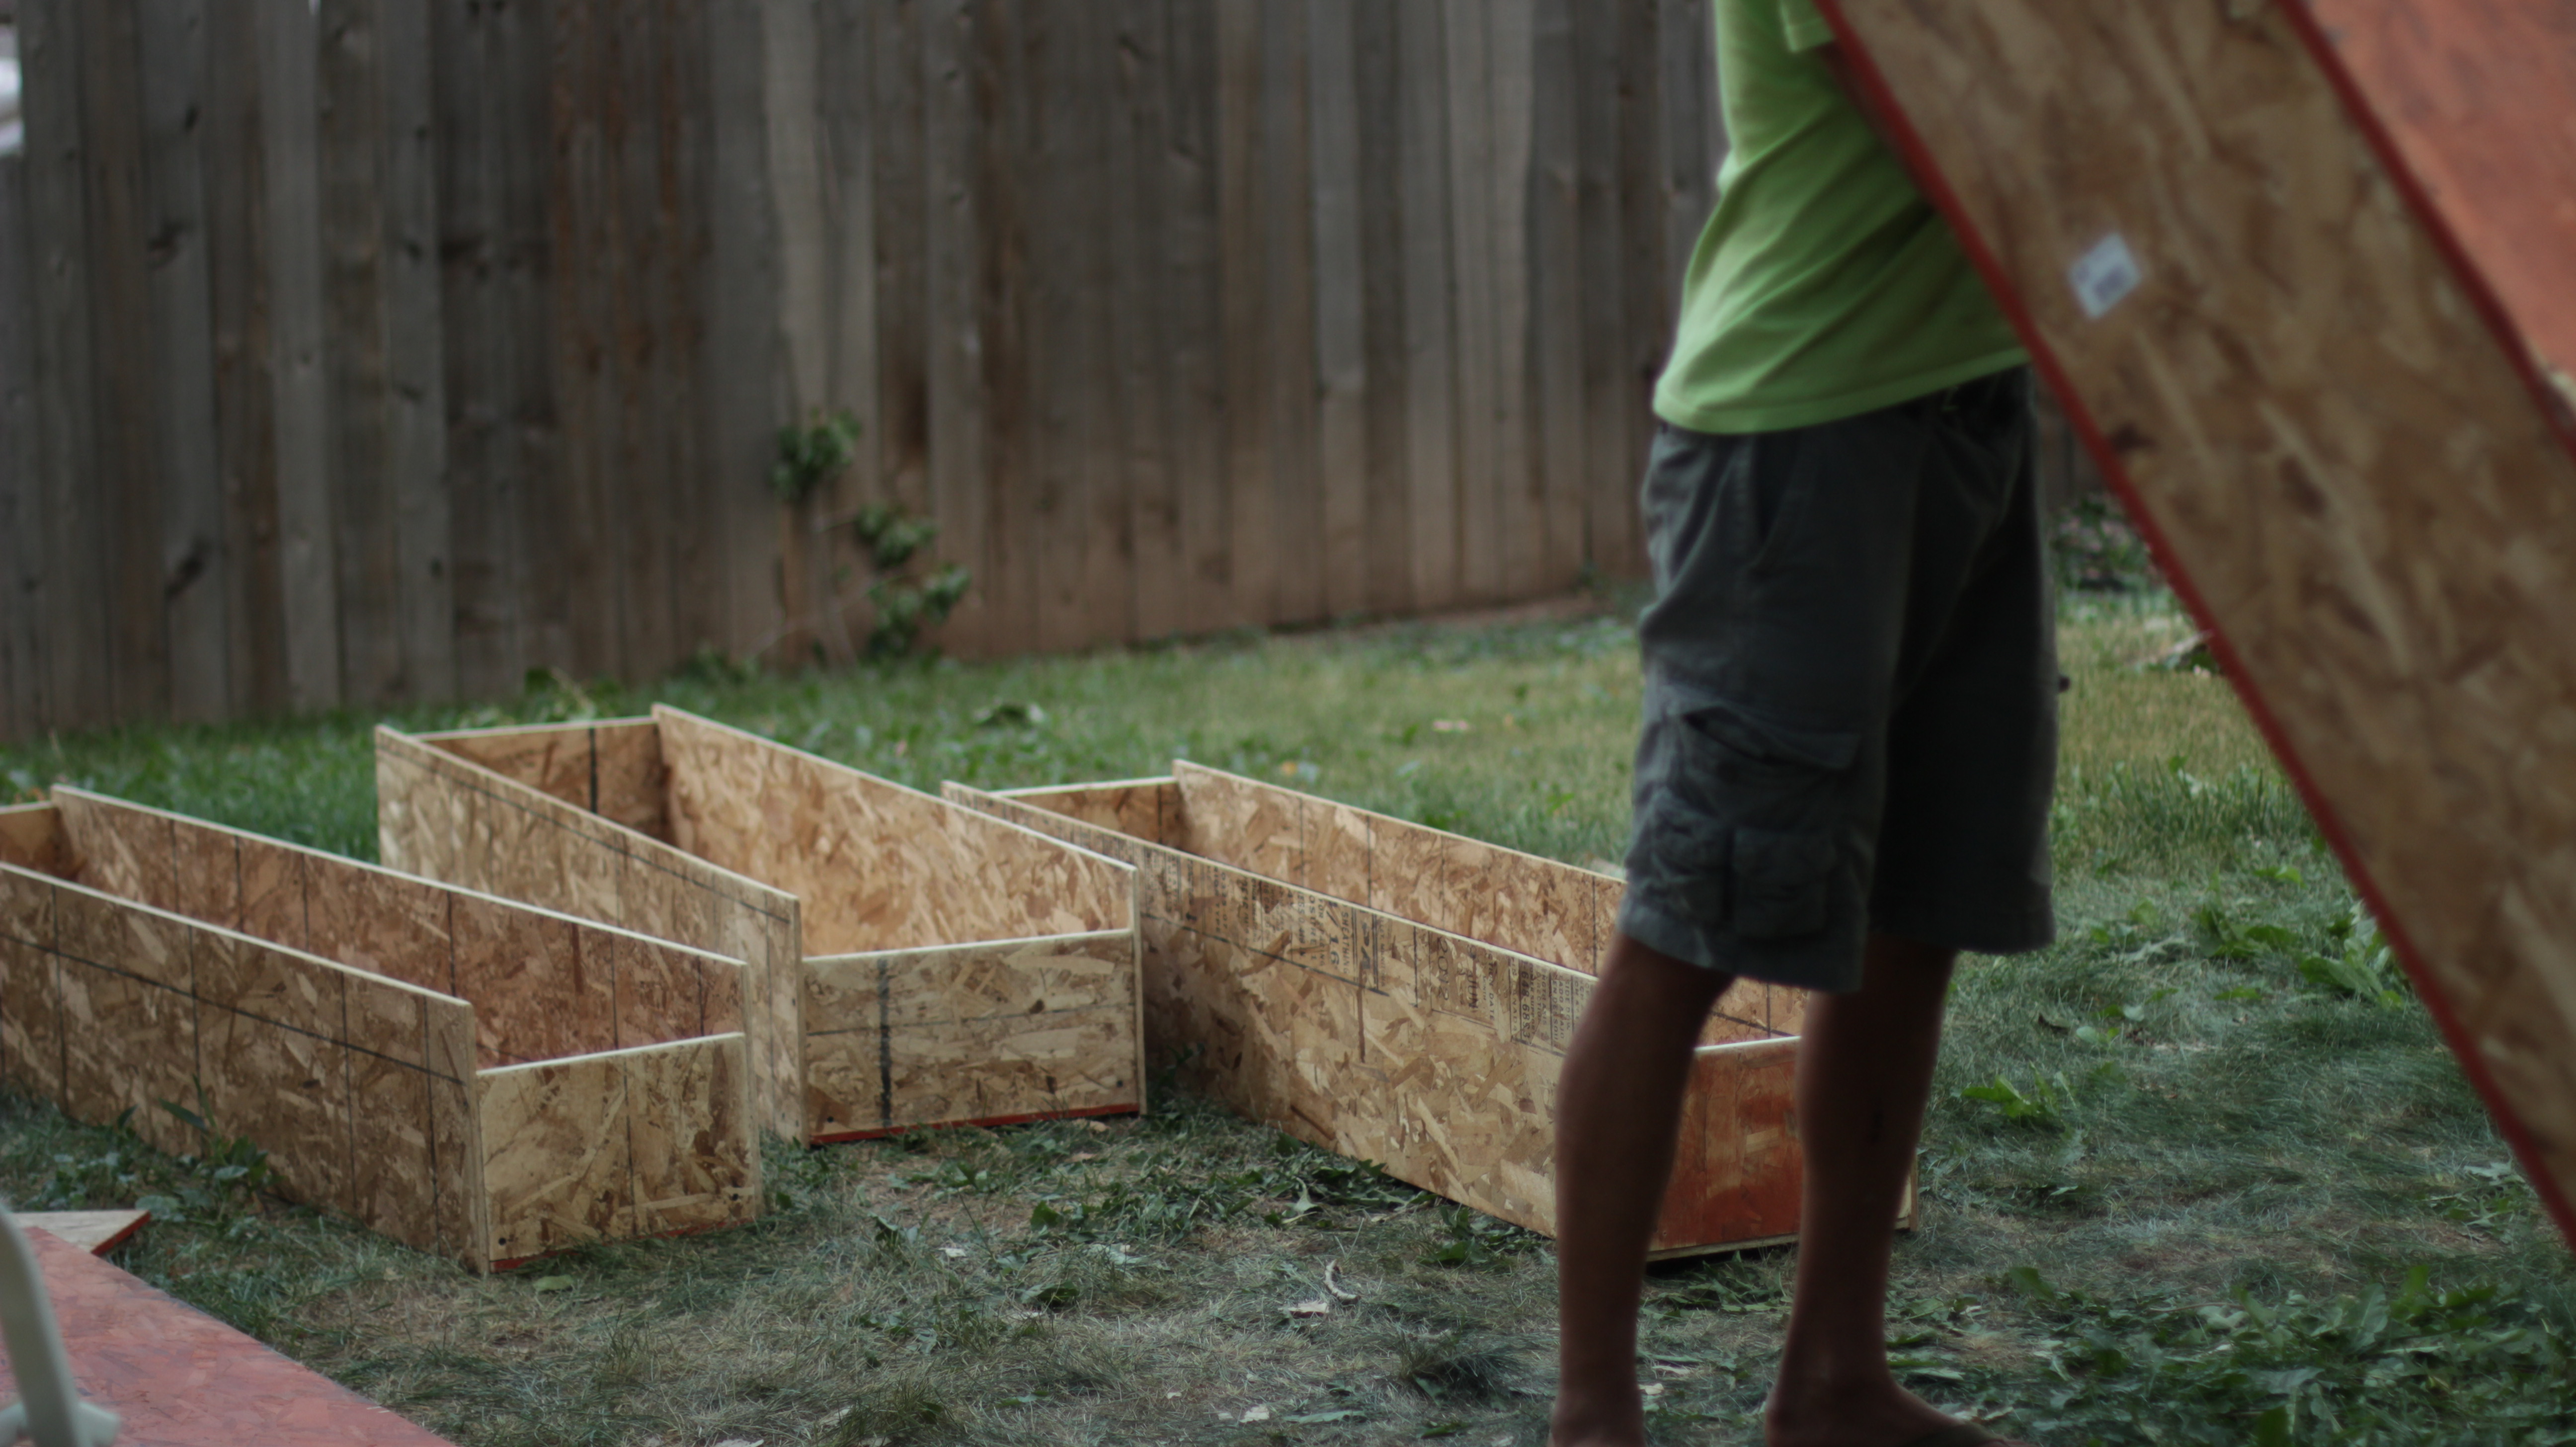
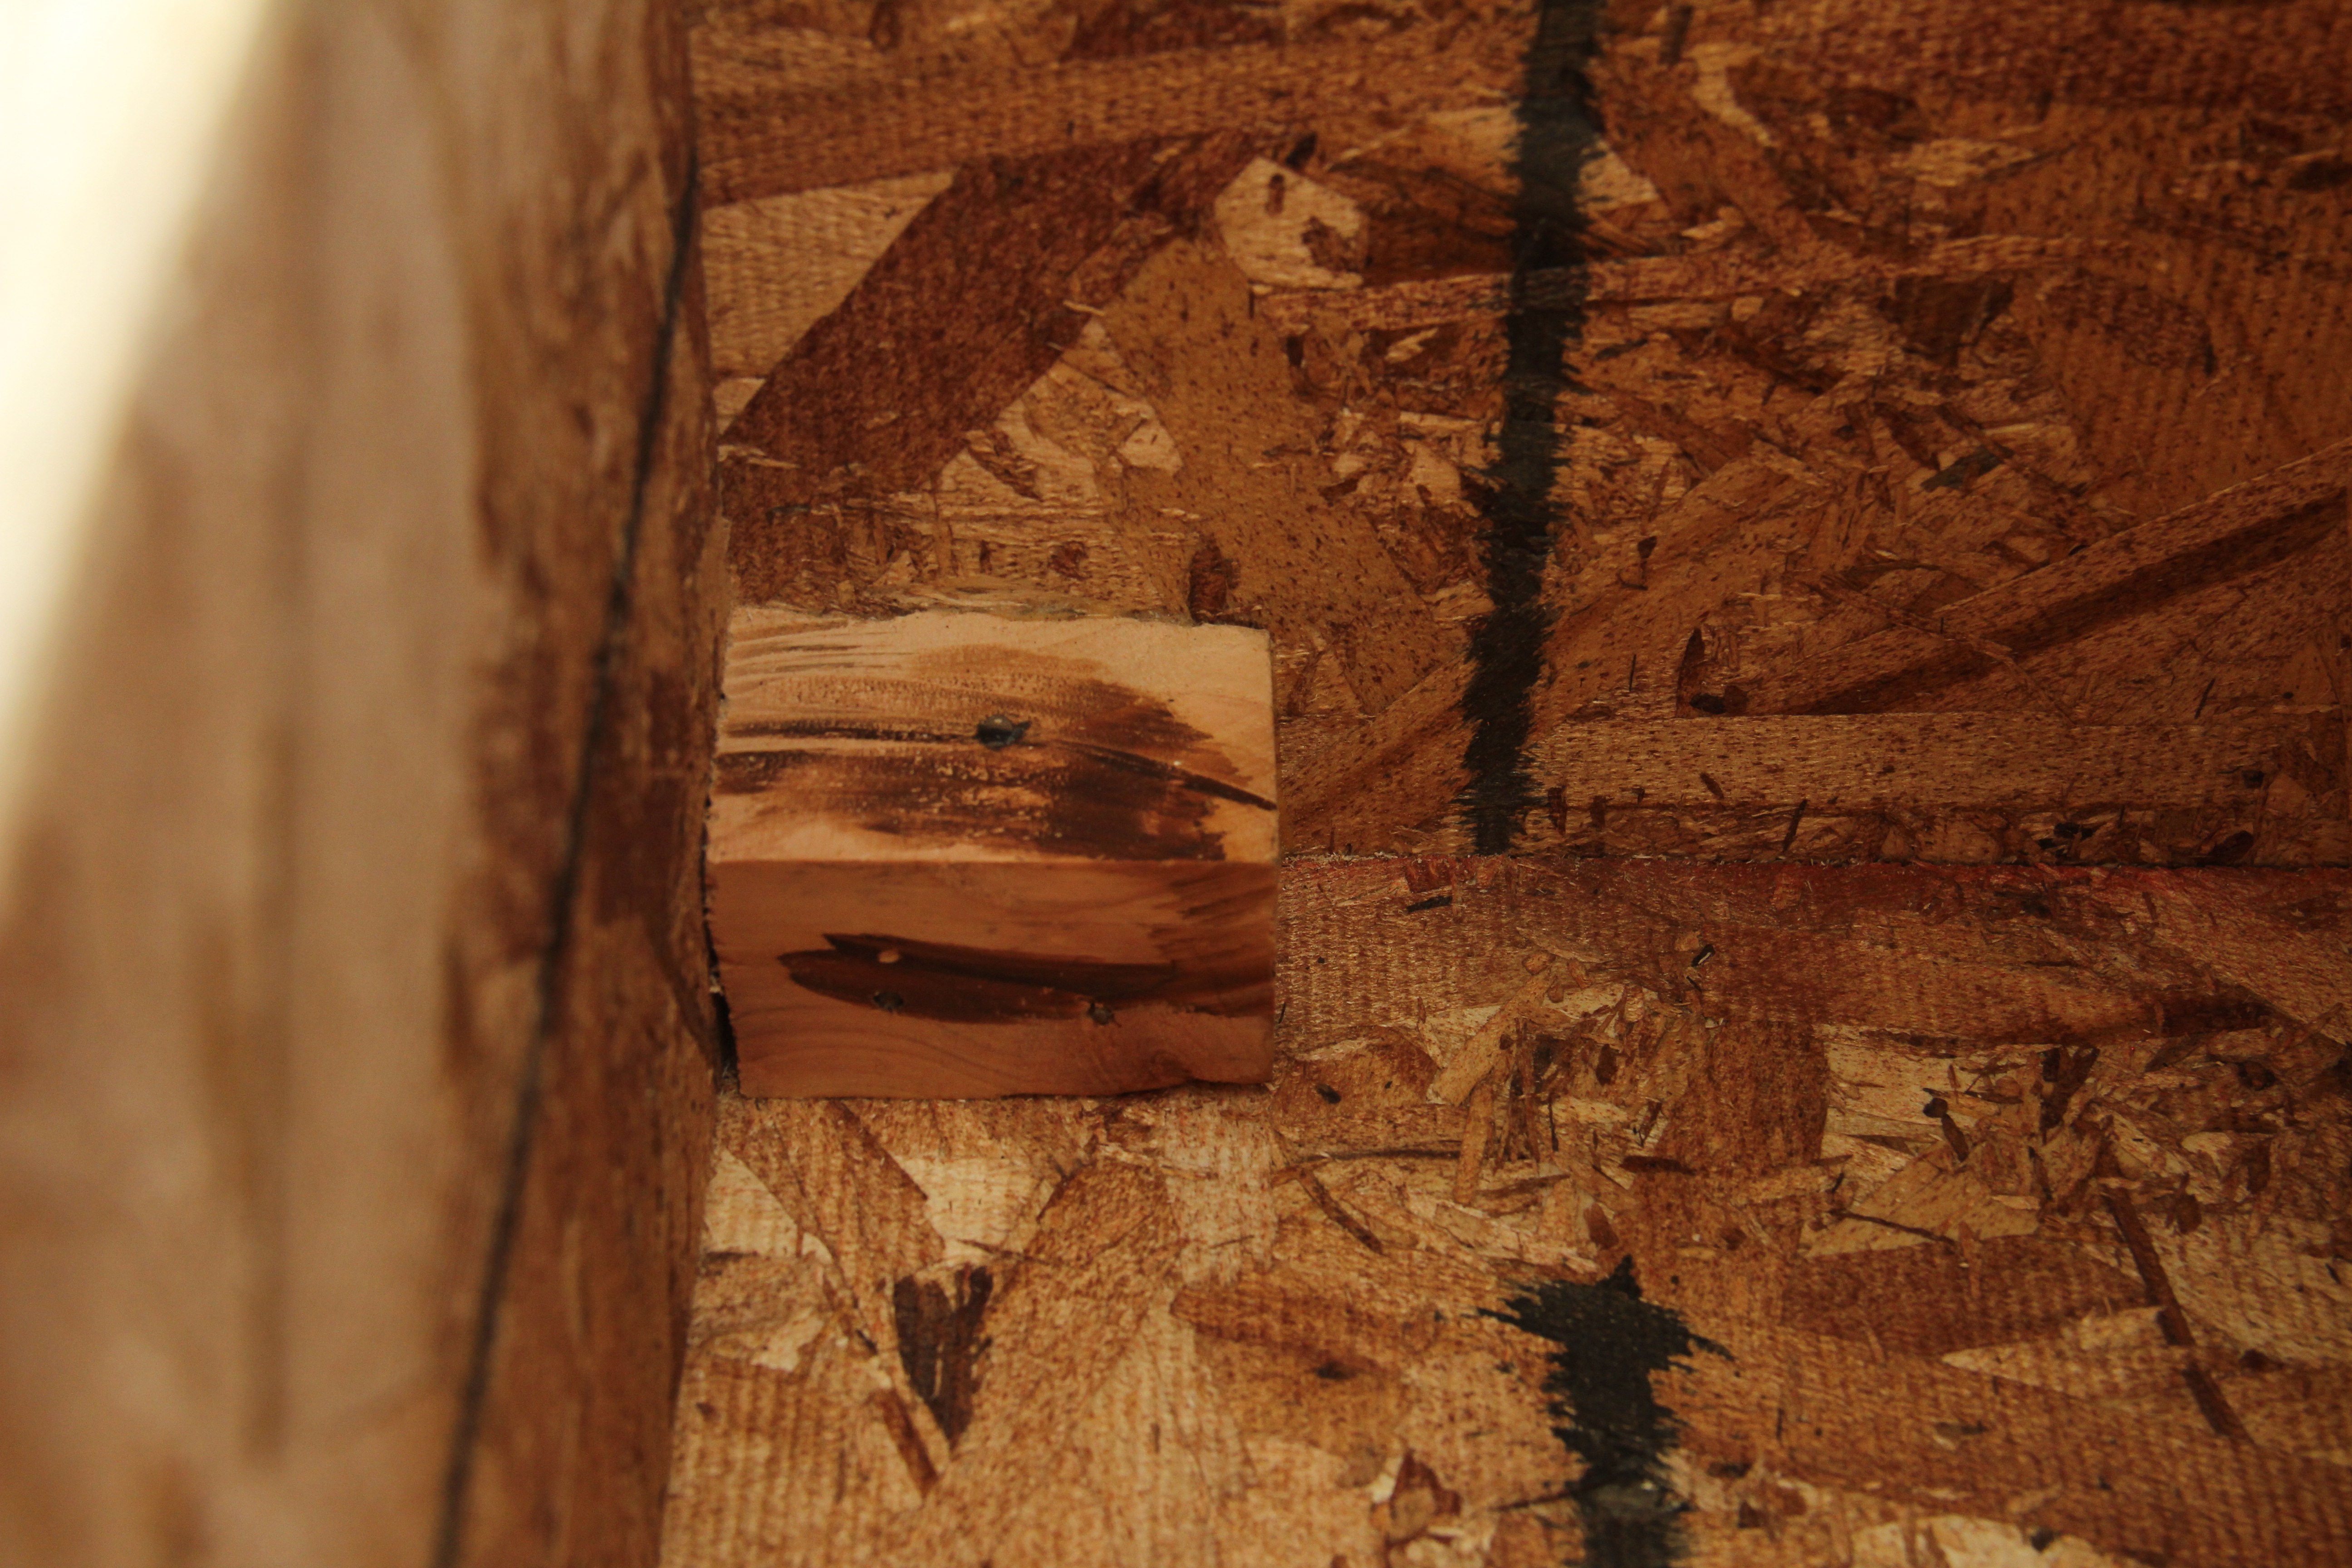
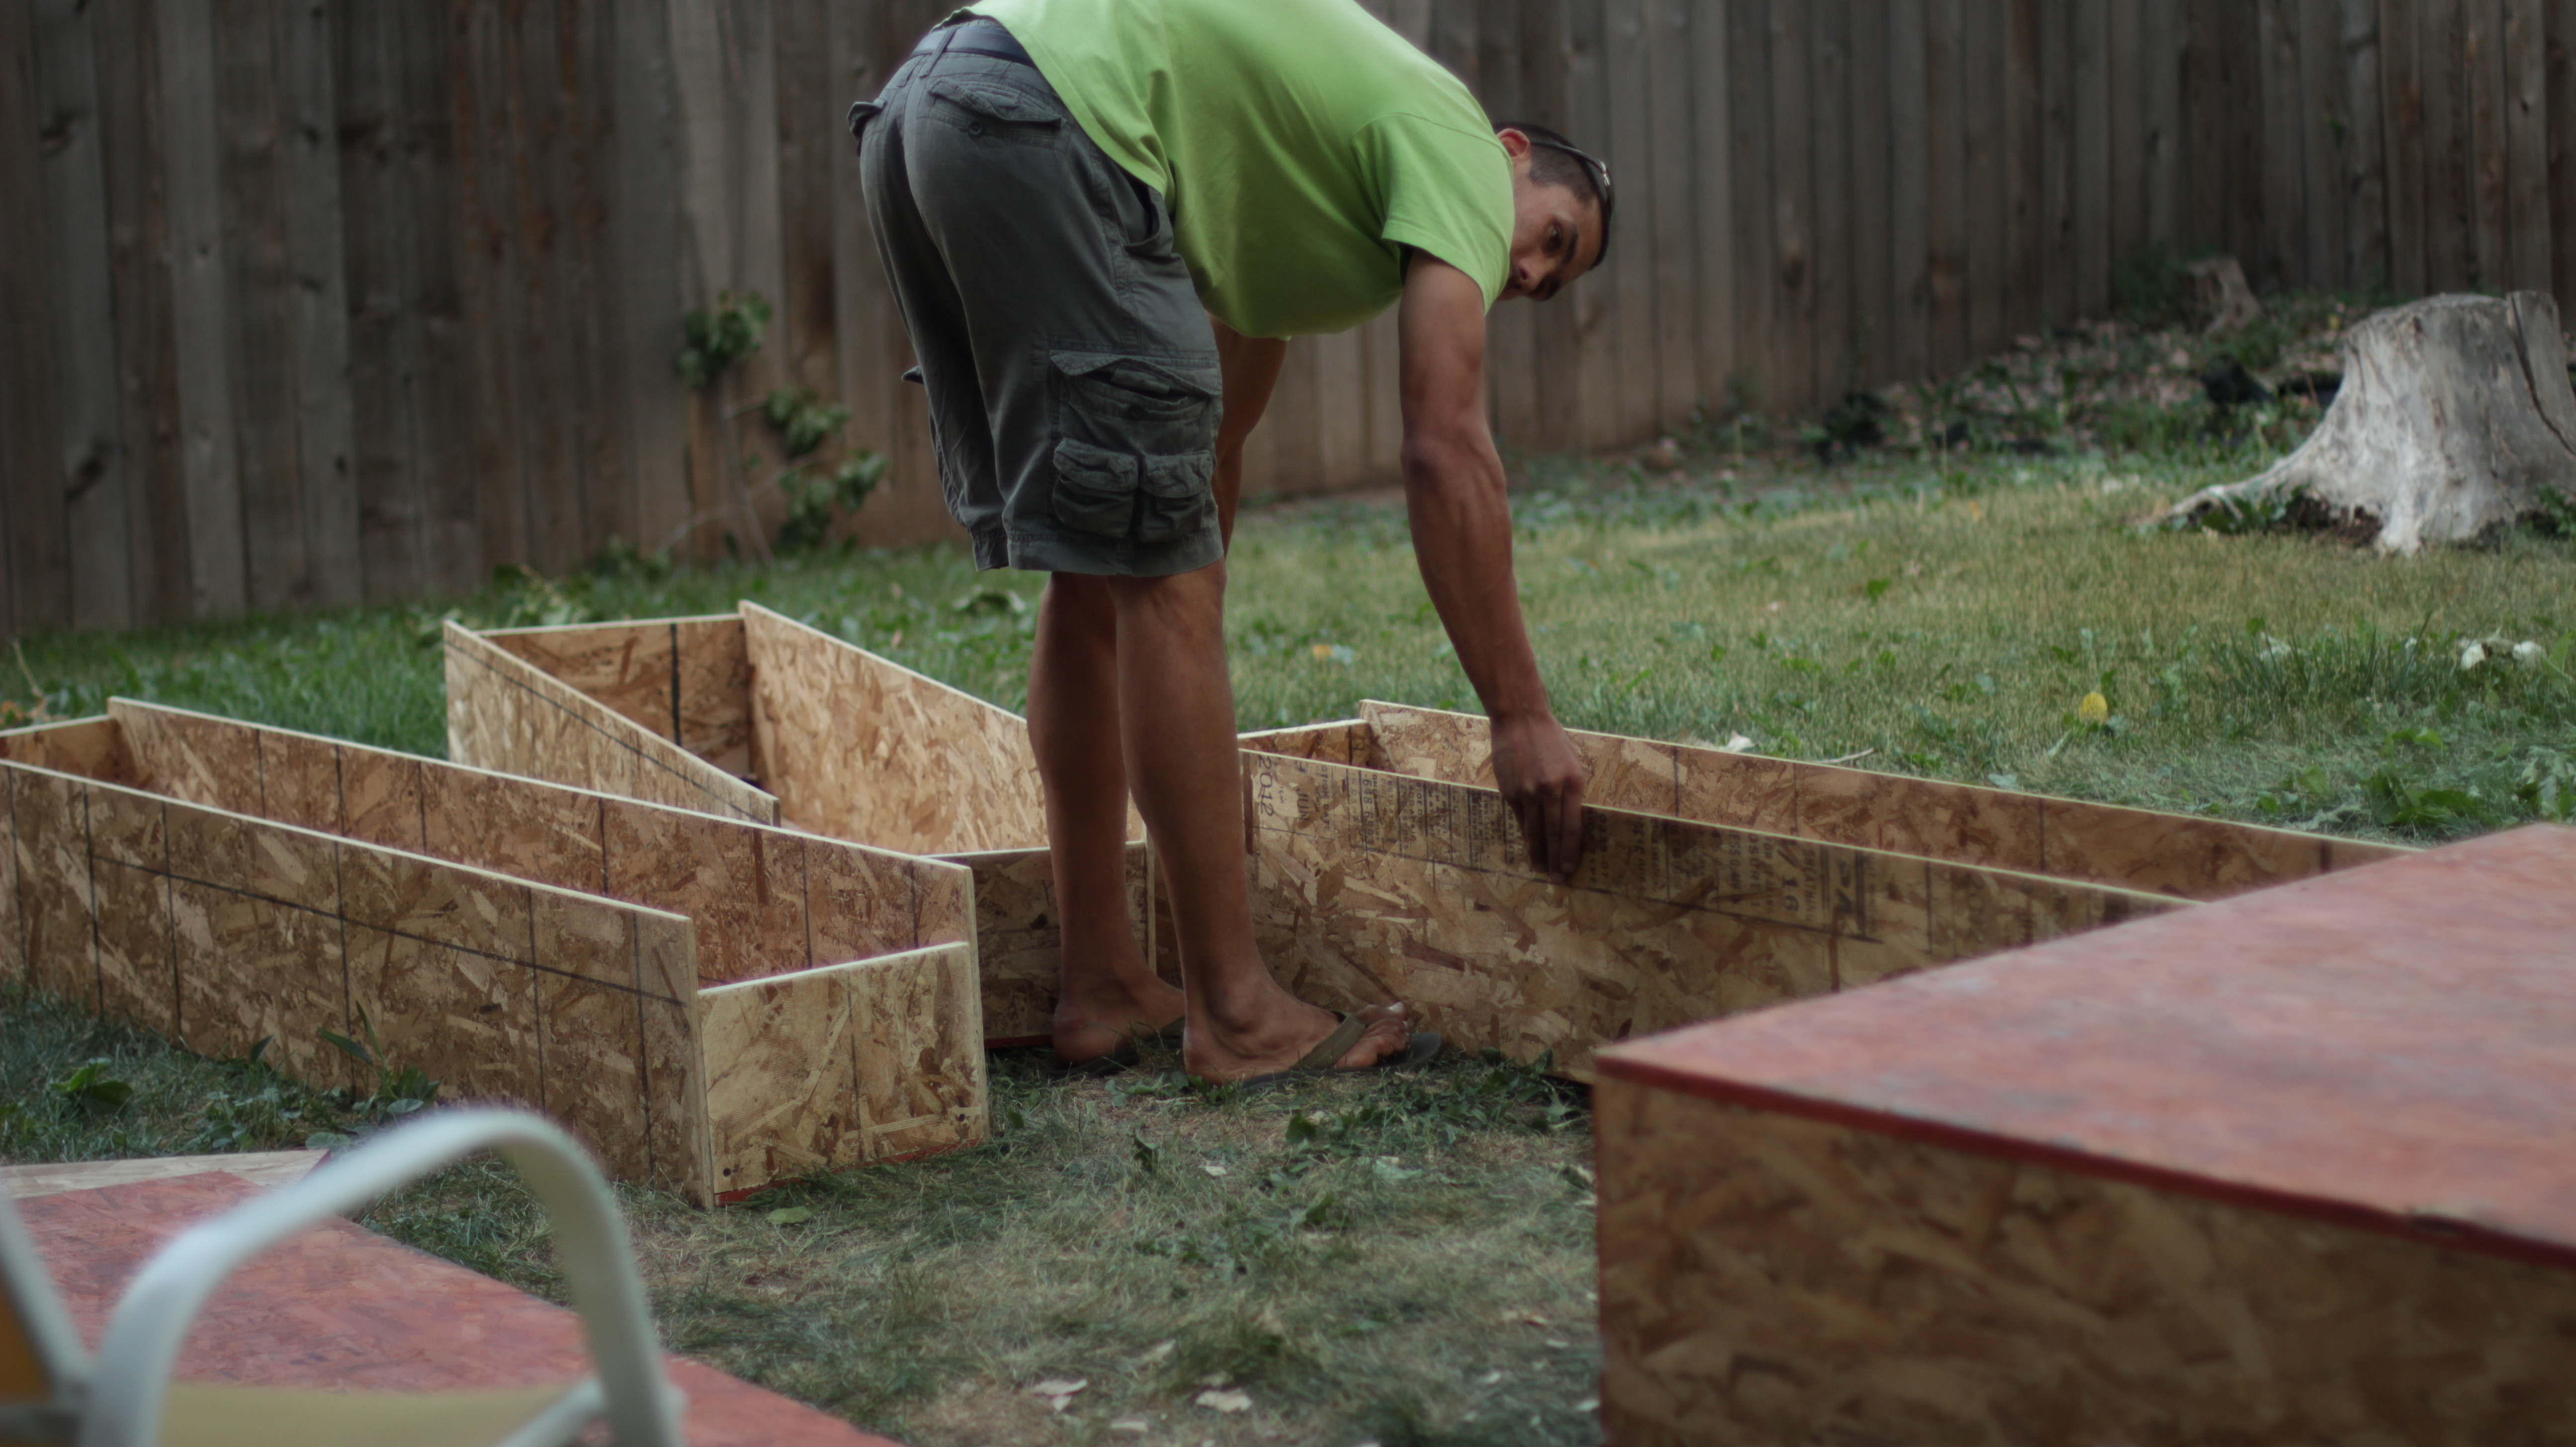
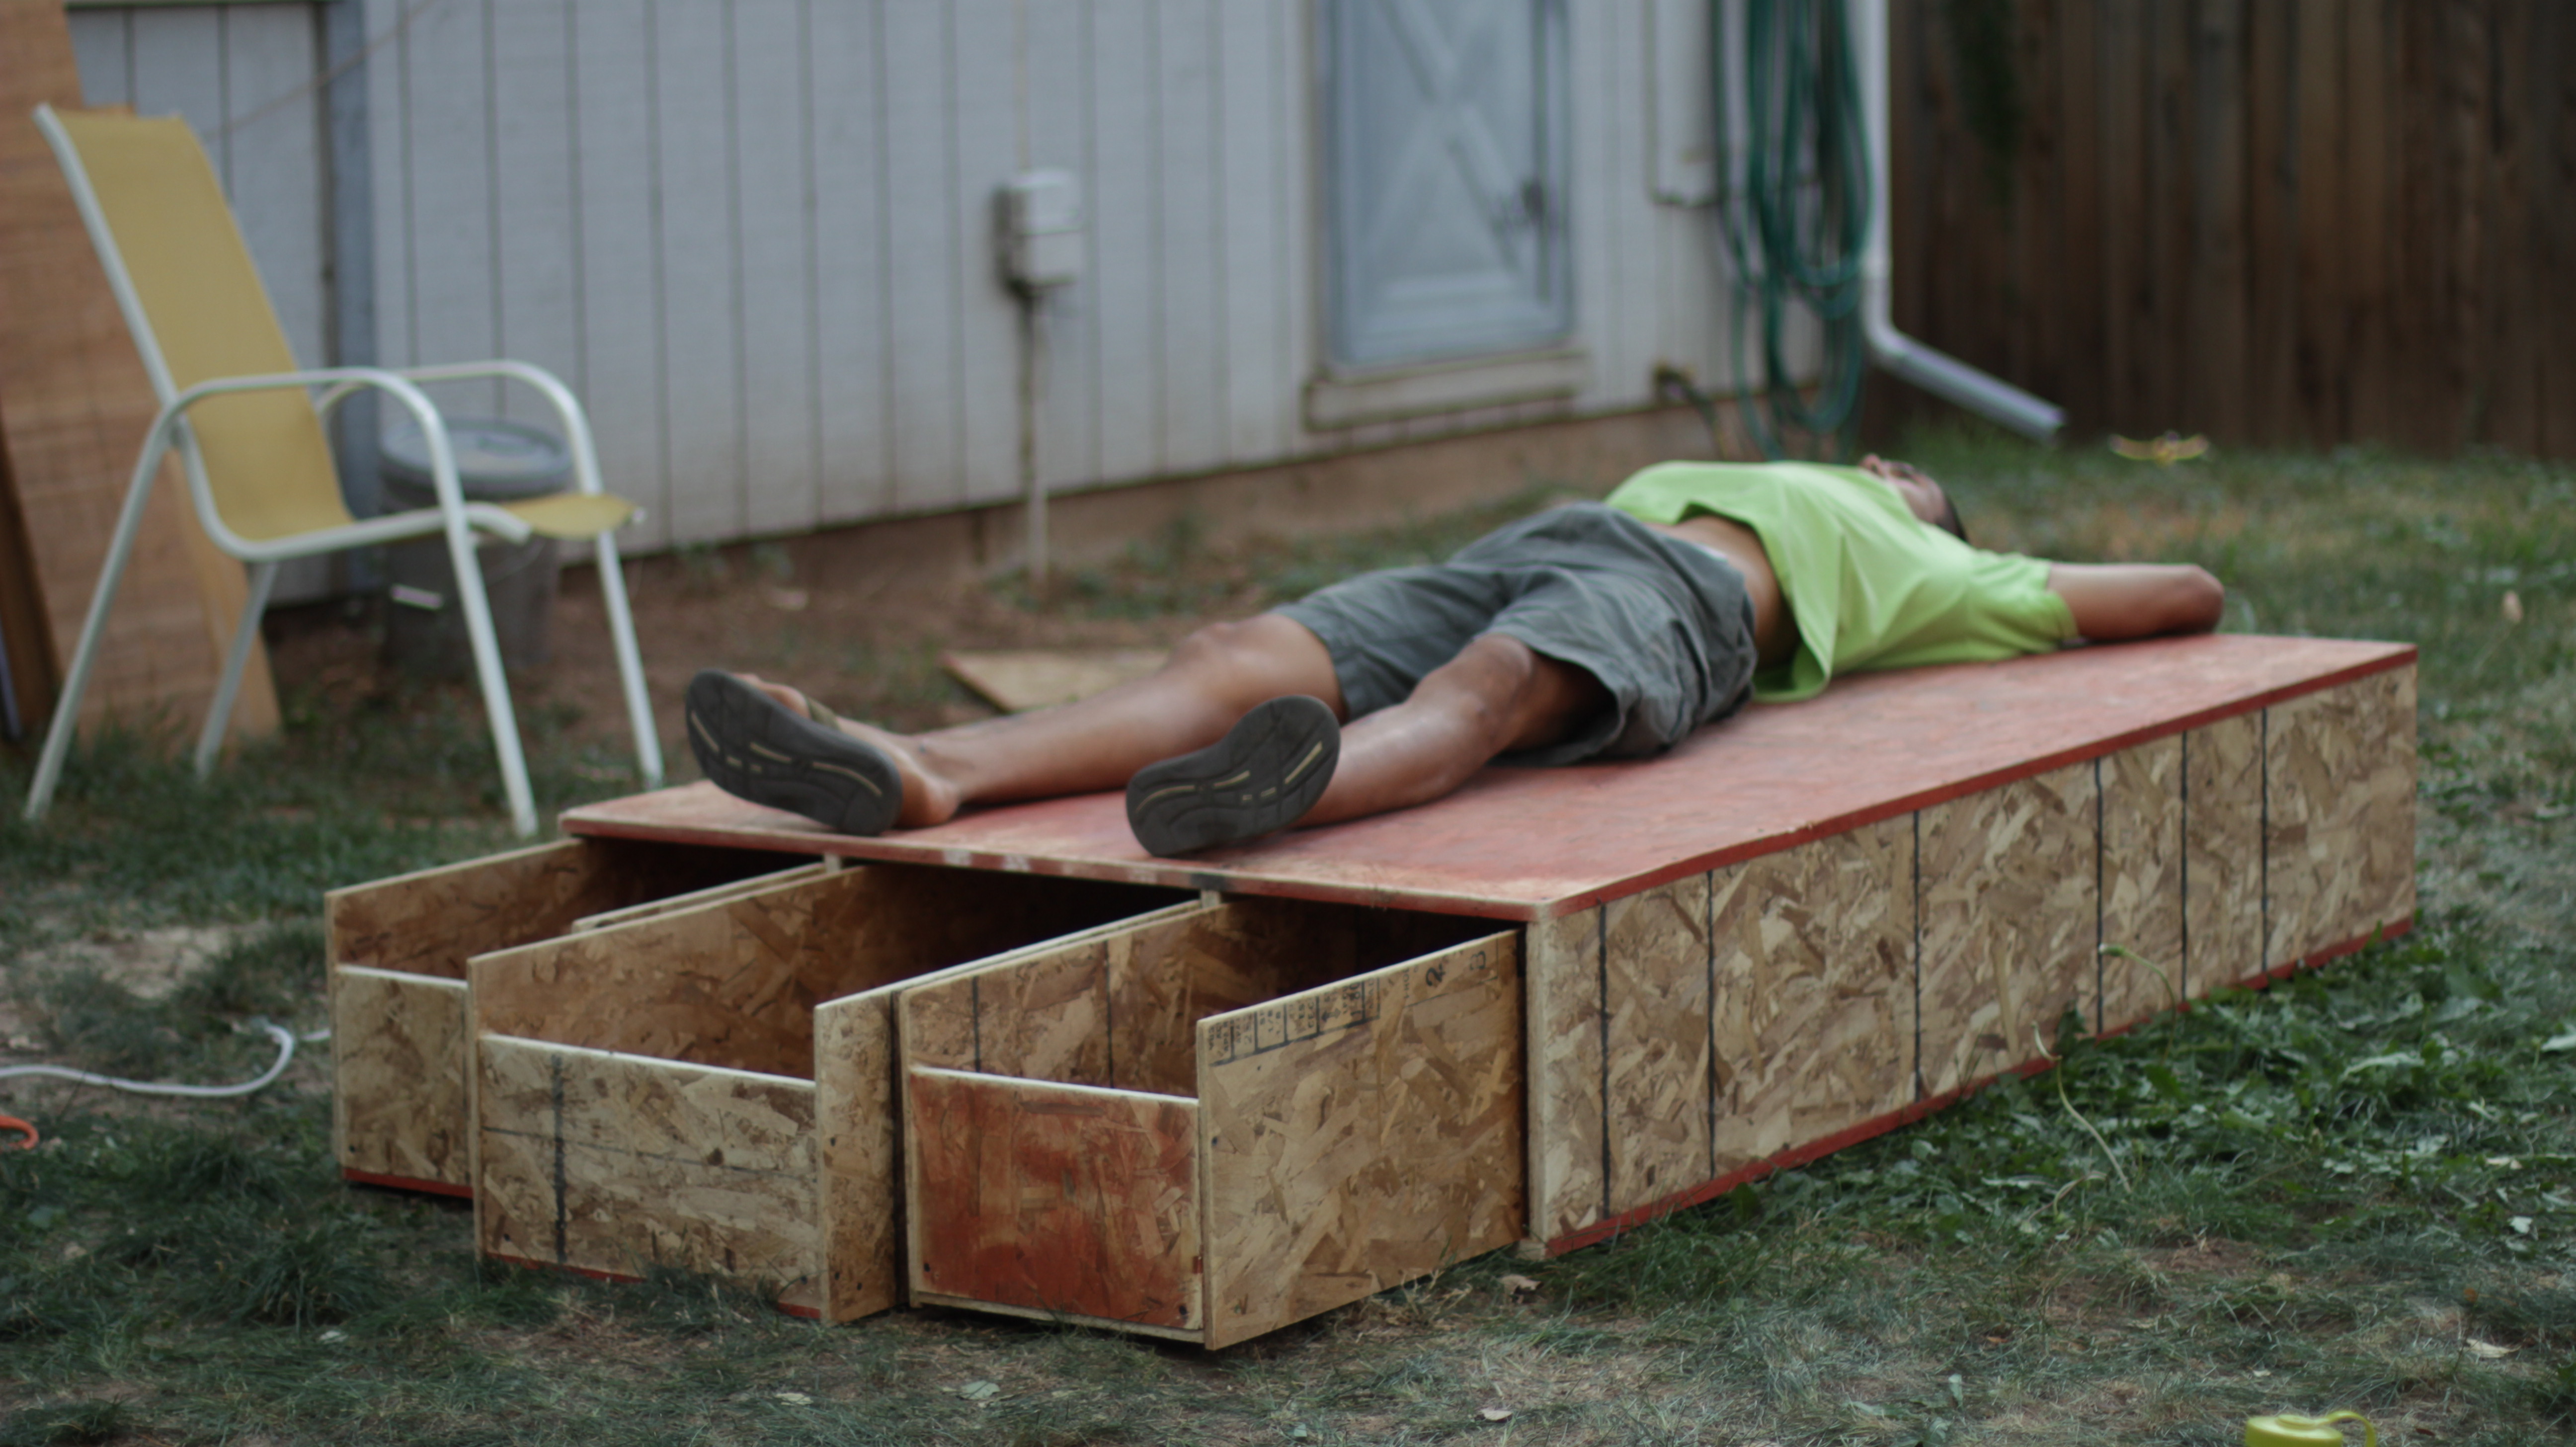
An important thing they did not mention in the video is the thickness of the plywood they used. We ended up using 3/4-inch plywood for the frame – we wanted to make sure the frame would be sturdy enough to hold us since we plan to use it as a bed (with crashpads on top, of course) whenever we will be unable to take the trailer with us. We are on a budget, so we figured we could save some cash and use 1/2-inch plywood for the drawers. A slight issue came up when we couldn’t use the screws we bought to fasten together the 1/2-inch plywood boxes. Spenser ended up cutting small squares from a piece of 2×2 [pictures below] and screwing in one in each corner. Then, he used the extra 3/4-inch plywood to cut the pieces for the dividers for the boxes and provide extra stability (pictured in the 2nd photo below).
The DIY Network (reality TV at its finest) provides a step-by-step guide to building the storage unit, including a list of materials. With that, the video, and the few tips we’ve included, you’re ready to turn your truck bed into a nomadic dirtbag’s dream.
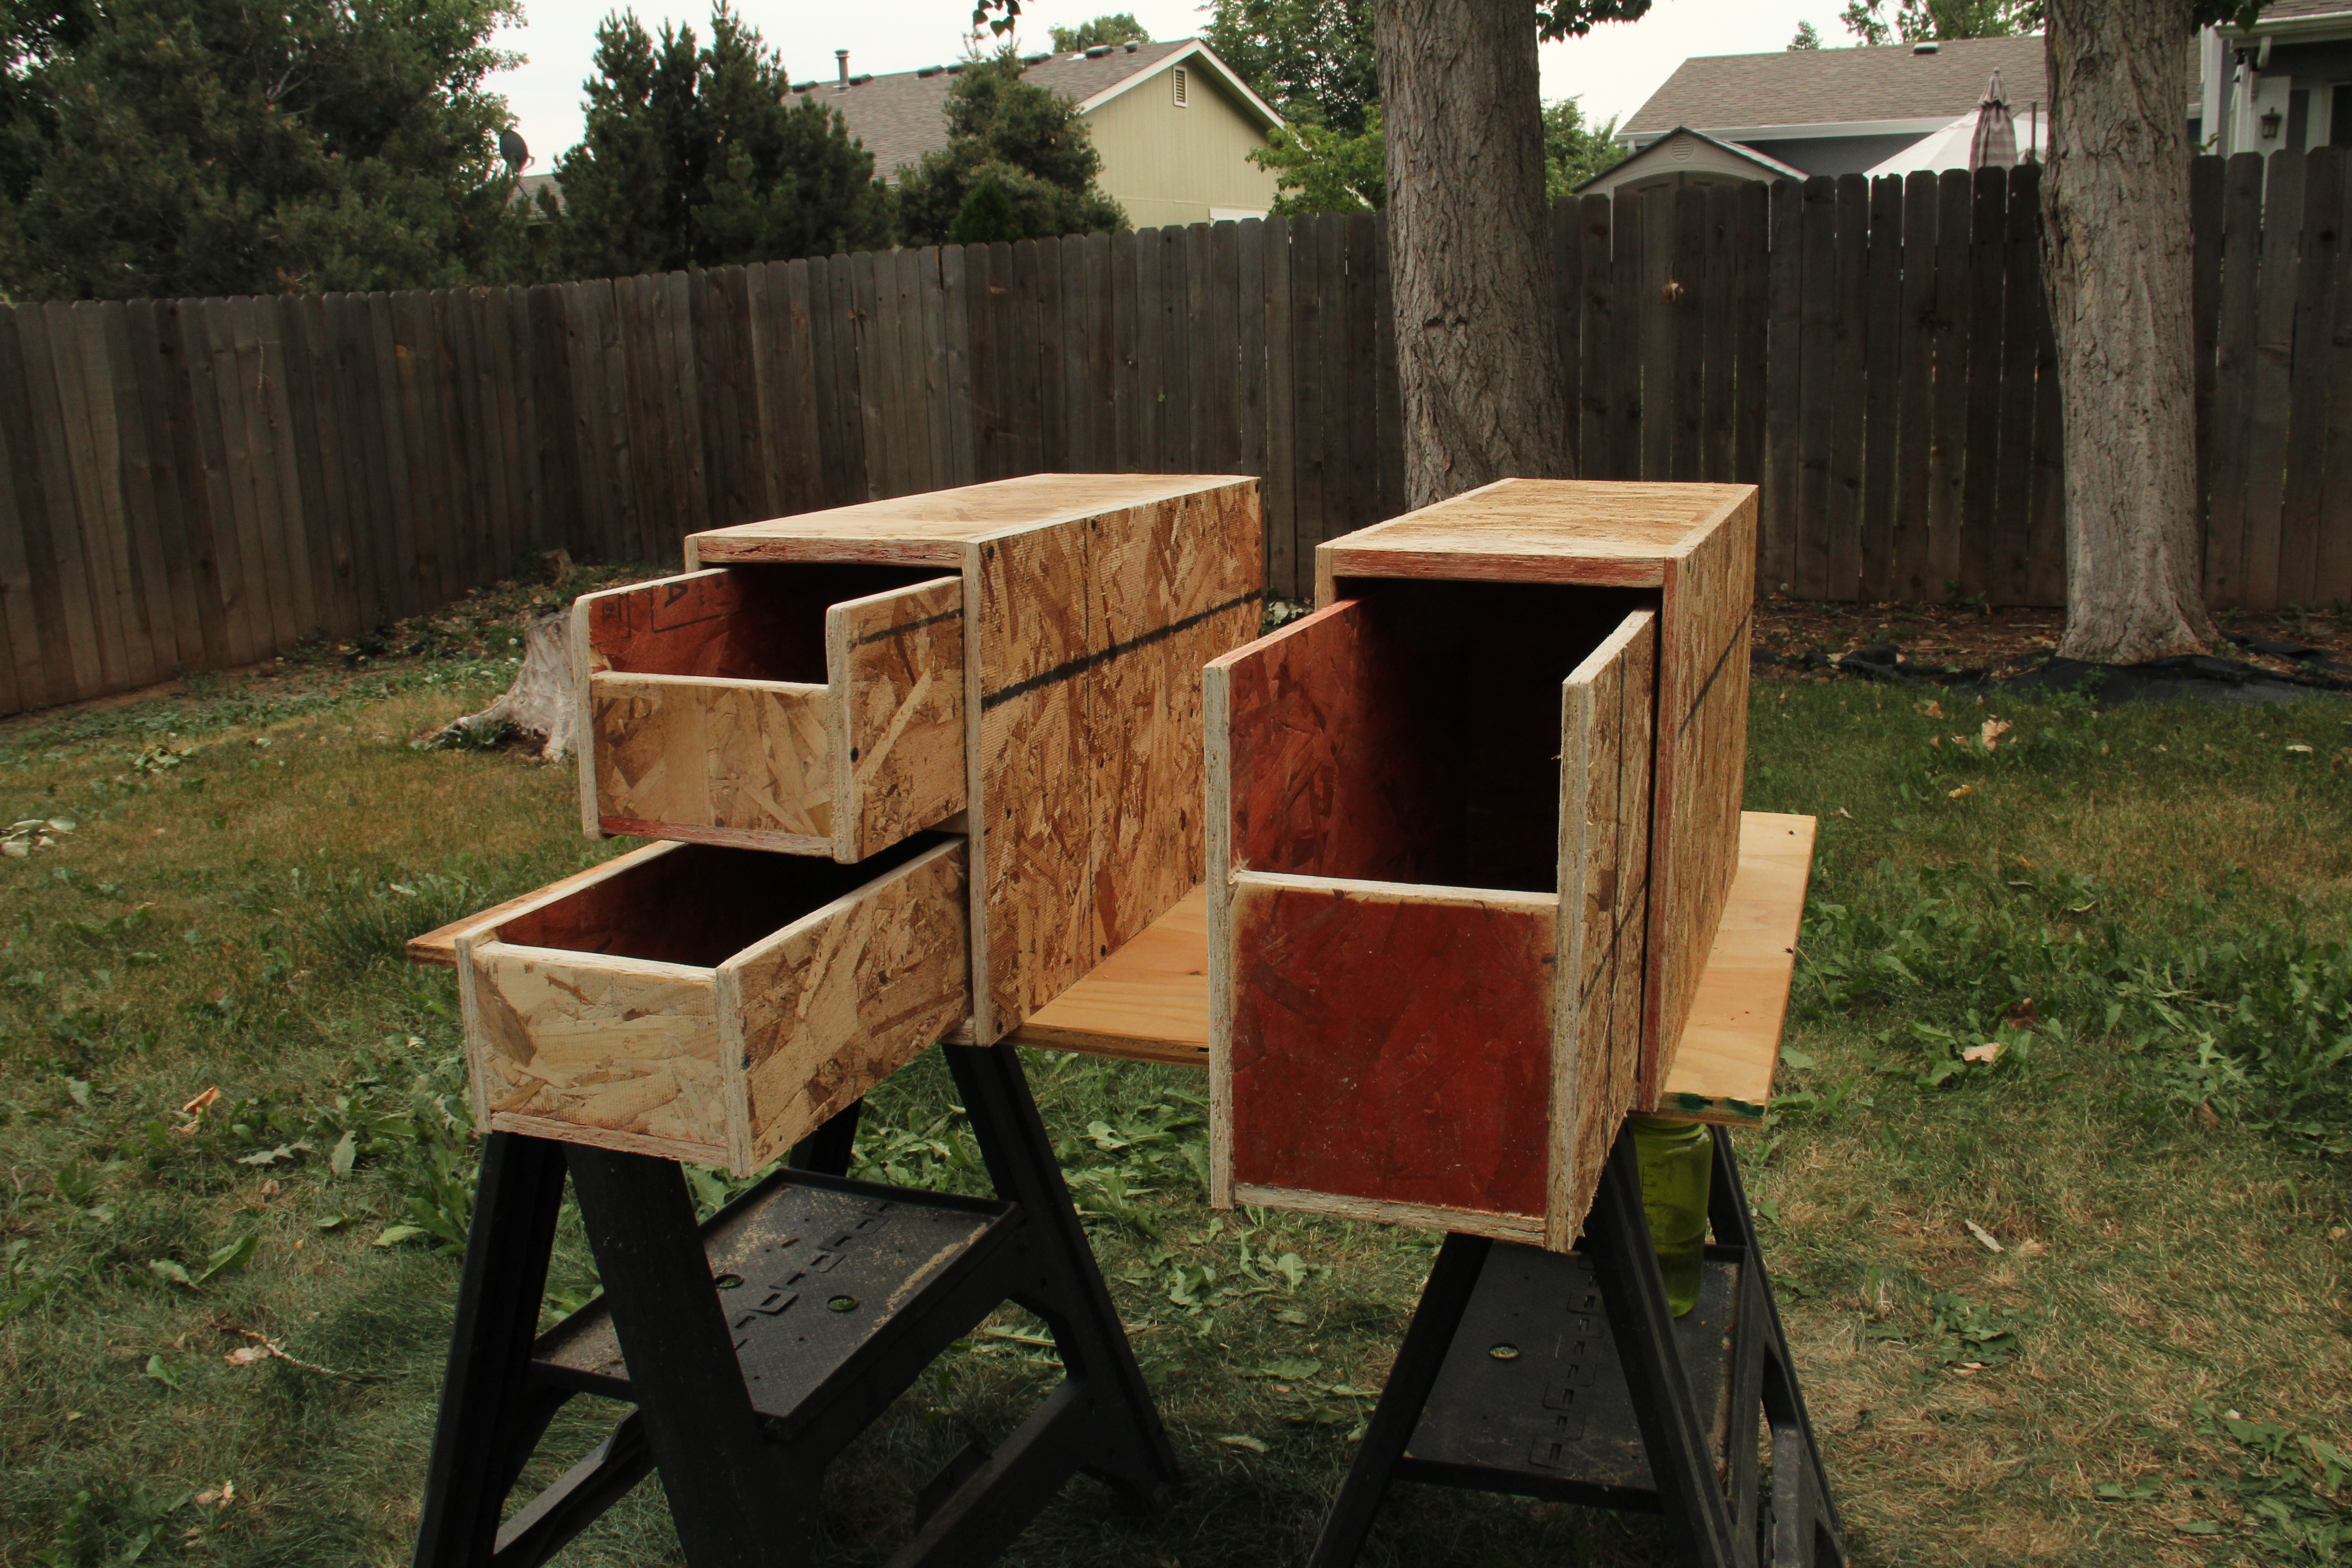
Side drawers made to fit behind the wheel wells for all our small items like headlamps, a first aid kit, and any other stray items we are sure to accumulate.
The whole thing ended up costing about $130. We had the good fortune that Brad has a ton of tools. A table saw, a skilsaw, a drill, and a screwdriver were pretty much all that we needed. A sander came in handy as well.
We will finish up Bert’s face lift with a new camper shell, once we find a reasonably priced one that fits his rather large frame…
Here’s a time lapse from the build. It’s quite a bit of us Spenser and I just standing there and mulling, but at least it documents the arrival of our new bouldering amigos from the East Coast!

Truck camping is so awesome! I miss my truck down in here in South America so some days when I want to procrastinate I just browse through awesome builds like yours! 🙂
Ha, it is awesome, innit? Thanks for checking it out! What rig did/do you have?
Truck camping is so awesome! I miss my truck down here in South America so some days when I want to procrastinate I just browse through awesome builds like yours! 🙂